



Hey there! I'm a supplier of LED panel lights, and today I'm gonna walk you through the process of installing an LED panel light on a sloped ceiling. It might sound a bit tricky, but with the right steps and tools, you can get it done like a pro.
Why Choose LED Panel Lights?
Before we dive into the installation process, let me quickly tell you why LED panel lights are a great choice. They're energy - efficient, which means you'll save on your electricity bills in the long run. They also provide a uniform and bright light, making them perfect for both residential and commercial spaces. And they last a really long time, so you won't have to replace them often.
Tools and Materials You'll Need
First things first, gather all the necessary tools and materials. You'll need a drill, screws, a screwdriver, a measuring tape, a level, wire strippers, electrical tape, and of course, the LED panel light. We offer a variety of LED panel lights, like the 600mm Recessed Mounted Led Panel Light, Surface Mounted Led Panel Light, and 30w Adjustable Hole Recessed Panel Light. Choose the one that suits your needs.
Step 1: Safety First
Safety is super important when it comes to any electrical work. Turn off the power supply to the area where you'll be installing the light. You can do this by switching off the corresponding circuit breaker in your electrical panel. Use a voltage tester to double - check that the power is off before you start working.
Step 2: Measure and Mark
Grab your measuring tape and measure the area on the sloped ceiling where you want to install the LED panel light. Make sure to measure accurately, taking into account the size of the light fixture. Use a pencil to mark the center point and the edges of the installation area. If you're using a recessed light, you'll also need to mark the outline for the hole.
Step 3: Drill the Holes
If you're mounting the light using screws, drill pilot holes at the marked points on the ceiling. Make sure the holes are the right size for the screws you're using. If you're installing a recessed light, use a drywall saw to cut the hole according to the marked outline. Be careful not to cut too big or too small.
Step 4: Install the Mounting Bracket (if required)
Some LED panel lights come with a mounting bracket. If yours does, attach the bracket to the ceiling using the screws and the pilot holes you drilled earlier. Use a level to make sure the bracket is straight. This will ensure that the light is installed evenly on the sloped ceiling.
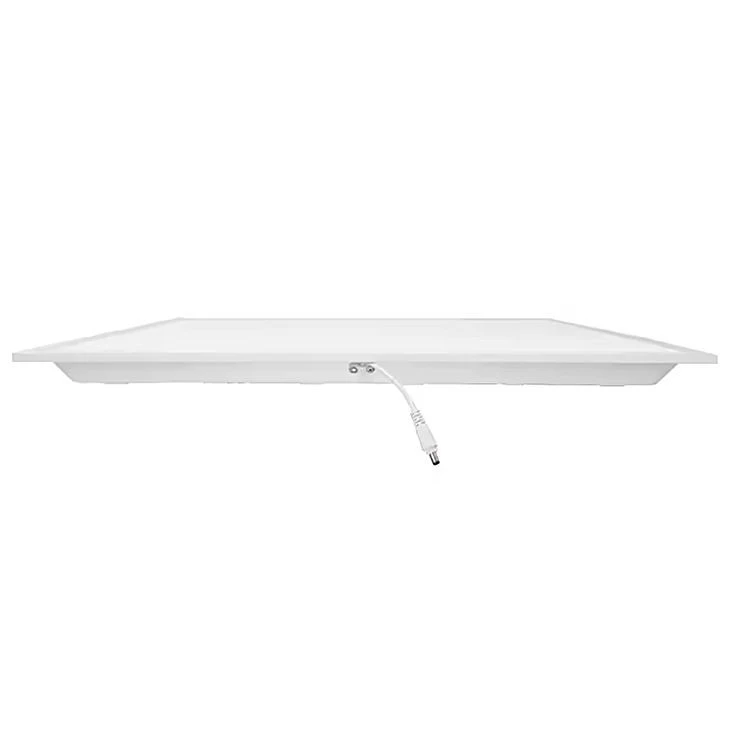
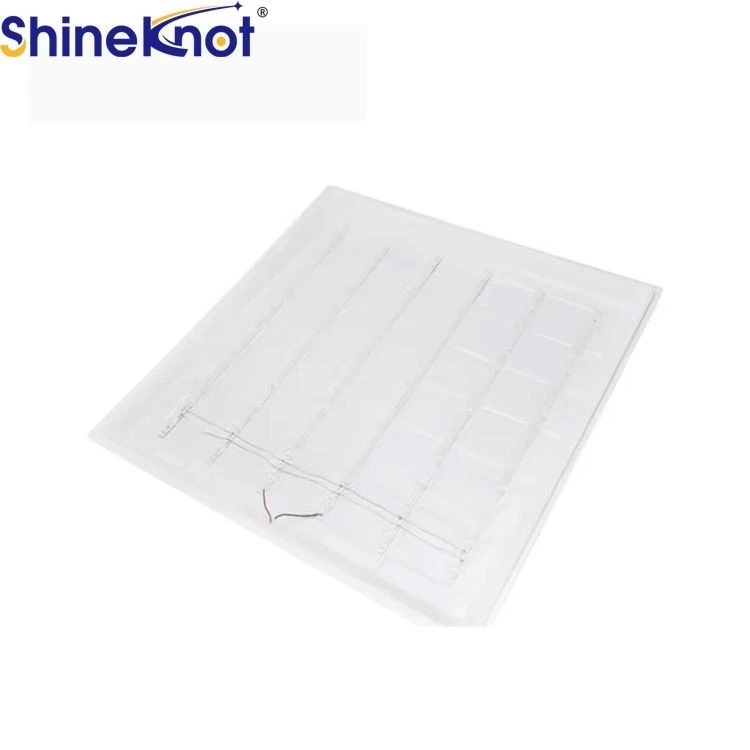
Step 5: Connect the Wires
Now it's time to connect the wires. Carefully strip the ends of the electrical wires coming from the ceiling and the wires on the LED panel light. Match the colors of the wires (usually black to black, white to white, and green or bare copper to the ground). Twist the corresponding wires together and secure them with wire nuts. Wrap the connections with electrical tape to prevent any short circuits.
Step 6: Mount the LED Panel Light
Once the wires are connected, carefully lift the LED panel light and place it on the mounting bracket or into the recessed hole. If it's a surface - mounted light, align it with the screws on the bracket and tighten them. For a recessed light, make sure it fits snugly into the hole.
Step 7: Test the Light
After mounting the light, turn the power back on at the circuit breaker. Flip the light switch to see if the LED panel light turns on. If it doesn't, turn off the power again and double - check your wire connections.
Step 8: Finishing Touches
Once the light is working properly, check to see if it's level and looks good on the sloped ceiling. If there are any gaps or rough edges around the light, you can use caulk or trim to make it look nicer.
Tips for Installing on a Sloped Ceiling
- Use a Flexible Mounting System: Some LED panel lights come with a flexible mounting system that can be adjusted to fit the angle of the sloped ceiling. This makes the installation process much easier.
- Be Patient: Installing a light on a sloped ceiling can be a bit more challenging than on a flat ceiling. Take your time and make sure each step is done correctly.
- Get Help if Needed: If you're not comfortable doing the electrical work or if the ceiling is very steep, it might be a good idea to hire a professional electrician.
In conclusion, installing an LED panel light on a sloped ceiling isn't impossible. With the right tools, a bit of patience, and following these steps, you can have a beautiful and functional light in no time.
If you're interested in purchasing LED panel lights for your project, we're here to help. Whether you need a large quantity for a commercial building or just a few for your home, we can offer you high - quality products at competitive prices. Contact us for more information and to start the procurement negotiation.
References
- General knowledge of electrical installation and LED panel light technology.
- Experience in supplying LED panel lights and observing installation processes.