


Installing a plug in a pipe is a task that requires careful planning, the right tools, and a good understanding of electrical safety. As a trusted plug supplier, we are here to guide you through this process, ensuring that you can complete the installation safely and effectively.
Step 1: Gather the Necessary Tools and Materials
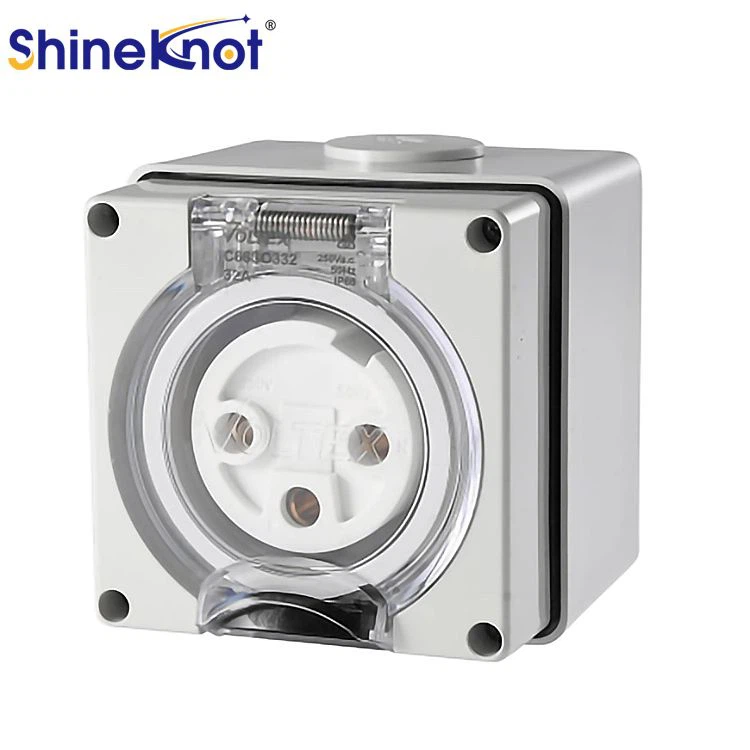
Before you start the installation process, you need to gather all the tools and materials you will need. This includes a plug, wire strippers, a screwdriver, electrical tape, and of course, the pipe. Depending on your specific requirements, you might consider products like the Rewireable Cord Extension 10amp, 5 PIN 20AMP SWITCHED SOCKET OUTLET IP66, or Surface Socket Back Wired 10amp. These products are designed to meet different electrical needs and are of high quality.
Step 2: Prepare the Pipe
The first step in preparing the pipe is to ensure that it is clean and free of any debris. This will help to ensure a good connection between the plug and the pipe. You can use a clean cloth to wipe the inside of the pipe. Next, measure the length of the wire that you will need to connect the plug to the power source. Make sure to leave some extra length for flexibility.
Step 3: Strip the Wires
Once you have measured the wire, use wire strippers to remove about 1 - 2 inches of insulation from the end of the wire. Be careful not to cut the wire itself. You should see two or three colored wires inside the insulation. Usually, the brown wire is the live wire, the blue wire is the neutral wire, and the green - yellow wire is the earth wire.
Step 4: Open the Plug
Use a screwdriver to open the plug. Most plugs have screws on the side or at the bottom. Once the plug is open, you will see three terminals inside. The terminals are usually labeled L for live, N for neutral, and E for earth.
Step 5: Connect the Wires to the Plug
Take the stripped end of the live wire (brown) and connect it to the terminal labeled L. Tighten the screw on the terminal to secure the wire. Do the same for the neutral wire (blue) and connect it to the terminal labeled N. Finally, connect the earth wire (green - yellow) to the terminal labeled E. Make sure that the wires are firmly connected and that there is no loose wiring.
Step 6: Close the Plug
After all the wires are connected, carefully close the plug. Make sure that the plug is properly aligned and that all the screws are tightened. Use electrical tape to wrap around the base of the plug to provide an extra layer of insulation and protection.

Step 7: Install the Plug in the Pipe
Once the plug is ready, you can install it in the pipe. Insert the plug into the pipe and make sure that it fits snugly. You may need to use a sealant or adhesive to secure the plug in place, especially if the pipe is in a wet or outdoor environment.
Step 8: Test the Connection
Before using the electrical device connected to the plug, it is essential to test the connection. Use a voltage tester to check if the plug is live. Make sure that all the electrical connections are safe and that there are no short - circuits or electrical hazards.
Safety Precautions
- Turn off the Power: Before starting any electrical work, always turn off the power at the main switch. This will prevent any electrical shocks or accidents.
- Use the Right Tools: Make sure that you are using the right tools for the job. Using improper tools can damage the wires or the plug and increase the risk of electrical hazards.
- Follow the Instructions: Always follow the manufacturer's instructions when installing the plug. Different plugs may have different installation requirements.
- Check for Damage: Before using the plug, check for any signs of damage such as cracks, loose wires, or exposed insulation. If you find any damage, do not use the plug and replace it immediately.
Troubleshooting
If you encounter any problems during the installation process, here are some common issues and solutions:
- Loose Connection: If the plug is loose in the pipe, you may need to use a stronger adhesive or sealant to secure it. Make sure that the plug is properly aligned and that all the connections are tight.
- Electrical Short - Circuit: If you experience a short - circuit, turn off the power immediately. Check the wiring for any loose connections or exposed wires. You may need to open the plug and re - connect the wires.
- No Power: If the plug is not working, check the circuit breaker or fuse. It may have tripped or blown. If the circuit breaker or fuse is fine, check the wiring connections in the plug.
Why Choose Our Plugs
As a plug supplier, we offer a wide range of high - quality plugs to meet your different needs. Our plugs are made from durable materials and are designed to provide reliable electrical connections. We have a team of experts who can provide you with professional advice and support on plug installation and electrical safety.
If you are interested in purchasing our plugs or have any questions about the installation process, we encourage you to contact us for further information. Our customer service team is always ready to assist you with your purchasing and technical inquiries. Whether you need a single plug or a large - scale order, we can meet your requirements.
Conclusion
Installing a plug in a pipe is a relatively straightforward process if you follow the steps carefully and take the necessary safety precautions. By choosing our high - quality plugs and following our guide, you can ensure a safe and reliable electrical connection. If you have any further questions or need assistance with the installation, please do not hesitate to contact us. We are committed to providing you with the best products and services in the electrical industry.
References
- Electrical Installation Handbook, International Electrotechnical Commission
- Electrical Safety Standards, National Fire Protection Association